
The Unity Shaders Bible
The definitive book to learn shaders in Unity.
✨Discover the power of shaders and unleash your creativity
in Unity with The Unity Shaders Bible!✨
The Unity Shaders Bible is the definitive resource for Technical Artists, providing everything you need to know in one comprehensive book. Starting with the basics and finishing with advanced concepts such as raytracing and compute shaders. It provides a detailed explanation of languages like Cg, HLSL, ShaderLab, and Shader Graph.
Discover The Shader Bible in Unity, the ultimate guide to mastering shaders, blending art with programming to produce high-quality graphics. With over 380 pages, it starts with shader programming basics, advances through light, shadow, and surface applications, and delves into sophisticated topics like Compute Shader and Ray Tracing. Available in both English and Spanish, this book is a comprehensive introduction to the exciting field of shaders, designed to cater to both beginners and experienced developers.


1. Introduction to the shader programming language.
- It covers previous knowledge (normals, vertices, tangents, and more).
- Shows the structure of a shader in ShaderLab, Cg, and HLSL language.
- Analogy between properties and global variables.
- SubShader and commands (ColorMask, Stencil, Blending and more).
- Intrinsic functions (step, smoothstep, ceil, floor and more).
- Matrices and much more.

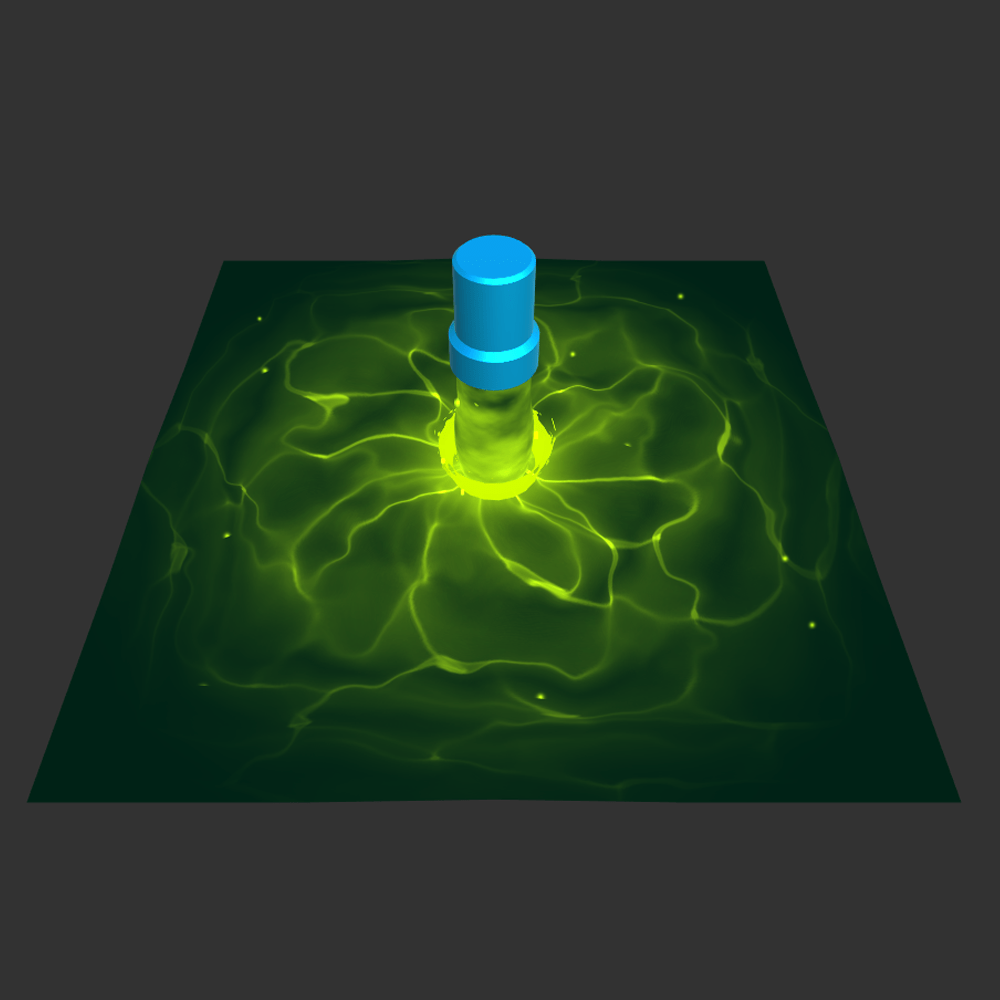
2. Lighting, shadow and surface.
- We will review a simple lighting model.
- Look at the normal map and its implementation.
- Ambient, diffuse, specular and environmental reflection.
- Lighting and shadow analysis.
- Standard Surface shader, inputs and outputs.
- Shader Graph and much more.

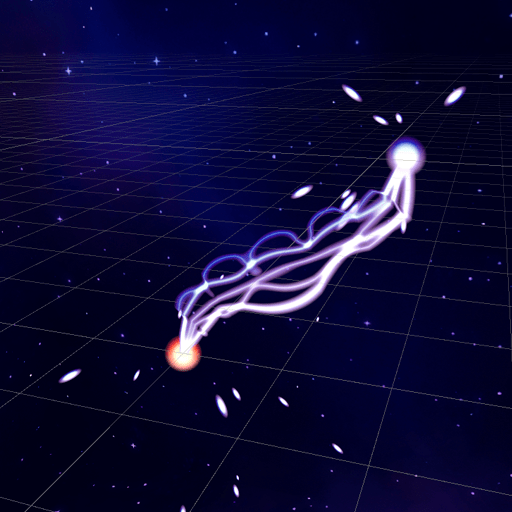
3. Compute shader, ray tracing and sphere tracing.
- It covers advanced concepts (threads, ray cast, GPGPU, and more).
- The structure of a Compute Shader and buffer variables.
- Compute Shader semantics (SV_DispatchThreadID, SV_Group, and more).
- Kernel explanation.
- Implicit surfaces and smooth minimum explanation.
- Ray Tracing rendering configuration and more.


Trusted in our books


What do readers think about the book?


Frequently Asked Questions
All our digital books are in .pdf format.
All our books are written in both English and Spanish.
All our digital products get free updates. You buy them just once.
We currently use Gumroad payment systems. For more information: https://customers.gumroad.com/

